
Table of Contents
Ever tried to sketch a cool pair of shades? You know, those sleek things that make everyone look instantly cooler or at least hide tired eyes. Maybe you started with an oval, added some lines, and thought, " this isn't quite right." Getting the curves, the lenses, and that specific frame shape can feel like trying to nail a perfect dive – looks easy until you try it. But don't ditch your pencil just yet. Mastering sunglass drawing isn't some dark art reserved for seasoned illustrators.
Getting Started: Why Try Sunglass Drawing?
Getting Started: Why Try Sunglass Drawing?
So, why even bother with sunglass drawing? It’s more than just adding a couple of dark ovals to a face. Learning to draw glasses, especially sunglasses, sharpens your ability to handle reflections, capture subtle curves, and understand how objects sit on a face. Think about it: sunglasses aren't just flat shapes; they wrap around, they have thickness, and those lenses catch light in fascinating ways. Getting this right immediately elevates your character sketches or fashion illustrations. It’s a practical skill that adds a polished touch, making your work look more professional and believable. Plus, let's be honest, who doesn't look cooler with the right pair of shades, even on paper?
Mastering the Basic Shapes for Your Sunglass Drawing
Mastering the Basic Shapes for Your Sunglass Drawing
It Starts with Two Ovals (Sort Of)
Alright, let's get down to the nuts and bolts of sunglass drawing. Forget trying to render every tiny screw and hinge right away. We begin with the absolute basics: the lens shapes. Most sunglasses, at their core, are built around two ovals or slightly curved rectangles. Think of classic aviators – they're essentially two teardrop-ish shapes. Wayfarers? More like rounded rectangles. The key here is perspective. Are you drawing them head-on? Angled? That changes how those ovals appear. They won't be perfect, flat circles. They'll be ellipses, squashed and angled depending on your viewpoint. Get these basic lens shapes right first, and you've got the foundation for your sunglass drawing.
Adding the Bridge and Frame Outline
Once you have those primary lens shapes roughed in, it's time to connect them and give them some structure. The bridge is that little piece that sits on your nose. It can be a simple curve, a straight line, or even a double bridge like on some pilot styles. Don't draw it flat; remember it has thickness and often sits slightly forward or back depending on the design. Then, outline the frame around your lens shapes. This is where the style starts to show. Is it thick and bold like a Wayfarer? Thin and wire-like? This outline defines the overall look. Don't worry about perfect symmetry yet, just get the general flow and proportions down for your sunglass drawing.
- Start with simple ellipses for lenses.
- Consider the angle – how squashed should the ovals be?
- Sketch the bridge connecting the lenses.
- Add the basic frame outline around the lenses.
- Keep lines light for easy adjustments.
Adding Style and Detail to Your Sunglass Drawing
Adding Style and Detail to Your Sunglass Drawing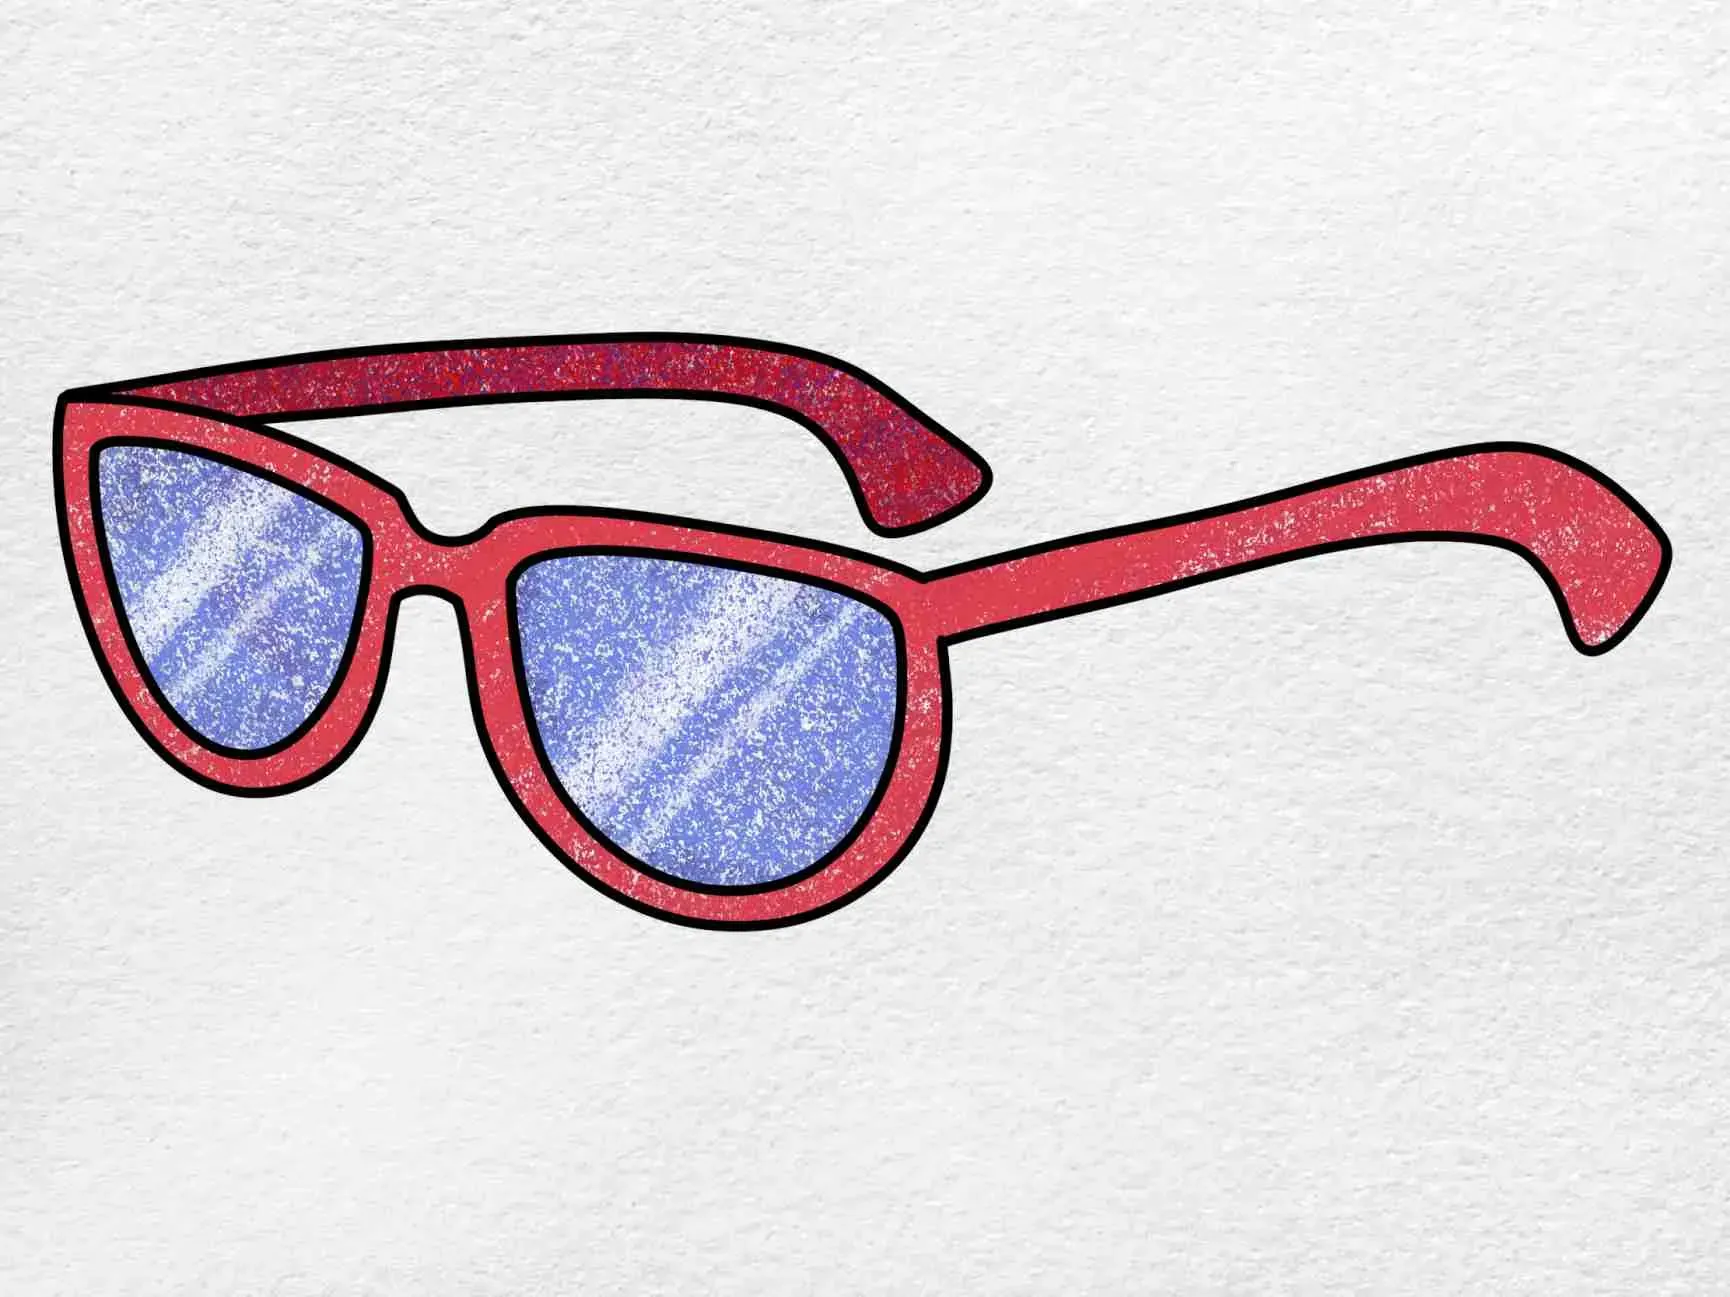
Giving Frames Real Depth
you've got the basic outline of your sunglass drawing. They look... flat. Like cardboard cutouts. That's because you haven't given them thickness yet. Frames aren't just lines; they have dimension. Think about the edge of the frame where the lens sits. There's a front surface, a side surface, and an inner surface. You need to draw these. For a thick plastic frame, this means parallel lines following the outer edge, showing the frame's depth. For wire frames, it's more about showing the curve and roundness of the metal. Pay attention to how the light would hit these surfaces – highlights and shadows are your best friends here. This step is where your sunglass drawing starts looking like a tangible object, not just a symbol.
Making Lenses Look Like Lenses
The lenses are arguably the most important part of a sunglass drawing. They aren't just black holes. They're reflective surfaces. What do they reflect? The environment! Or, if you're drawing them on a face, they might show a distorted reflection of whatever the person is looking at, or just a general sky/light source. This is where you add those iconic sunglass highlights. A bright, sharp line or curve where the main light source hits the lens is crucial. Maybe a softer gradient or a hint of color to show tinting. Don't make the whole lens uniformly dark. Use varying shades of gray or color, leaving areas lighter for reflections. A common mistake is making them too opaque; unless they're mirrored, you should often be able to see a faint hint of the eye behind them, which adds realism. Just a quick note: finding the right pair to study helps immensely. Check out the variety over at sunglasshub.org for some visual inspiration on different styles and lens types.
What kind of environment is your subject in? Will the lenses reflect a sunny beach or a busy city street?
Adding Those Tiny, Crucial Bits
Now for the small stuff that makes a big difference in your sunglass drawing. Hinges: these connect the frame front to the arms. They're usually small metal pieces, often with tiny screws. Even if you just suggest them with a couple of lines or dots, it tells the viewer how the glasses function. Nose pads: these are the little pieces that rest on the nose. They can be clear plastic circles or molded parts of the frame. They cast tiny shadows and have their own highlights. And don't forget the arms themselves! They taper, they curve to fit behind the ear, and they also have thickness and catch light. Adding these smaller details brings the whole piece together and makes your sunglass drawing look complete and functional, not just a simplified shape.
Exploring Different Types of Sunglass Designs to Draw
Exploring Different Types of Sunglass Designs to Draw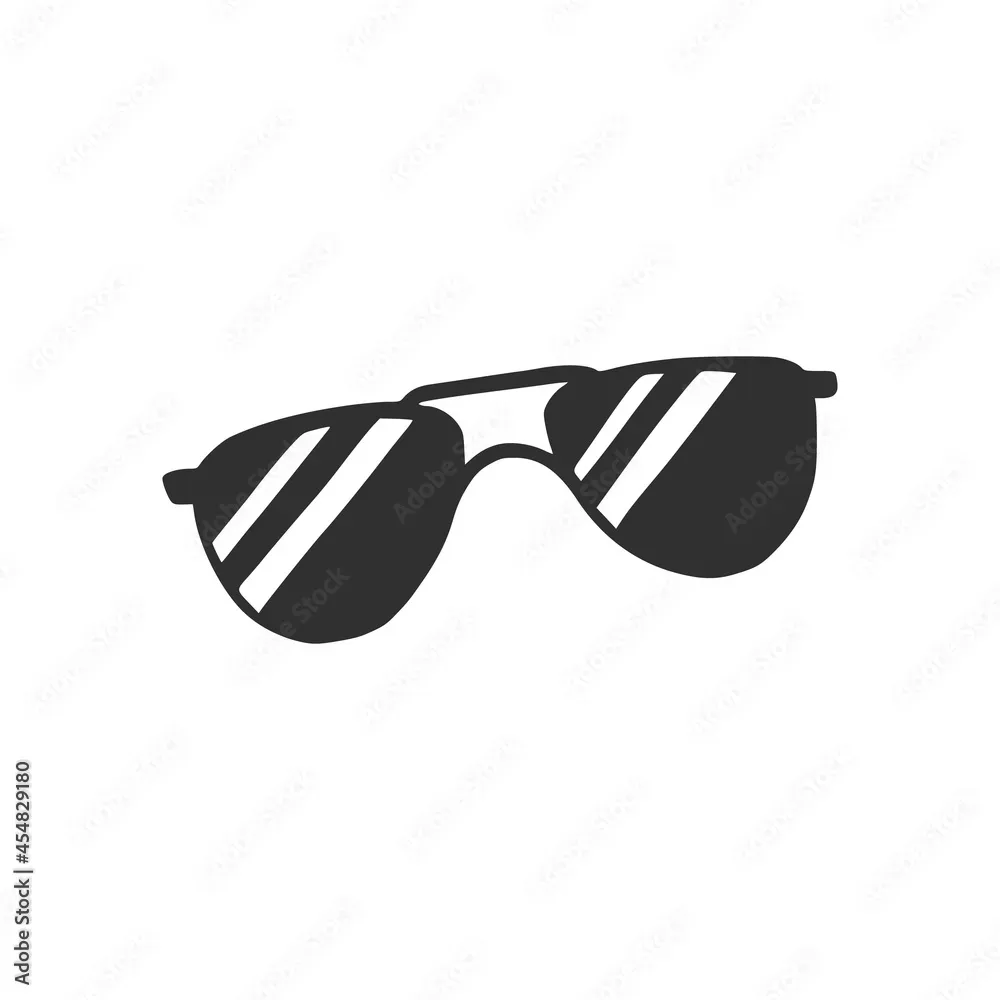
Classic Styles: Aviators and Wayfarers
so you've got the basics of sunglass drawing down – shapes, depth, reflections. Now, let's talk styles. Not all shades are created equal, and drawing a pair of sleek aviators is a different beast than sketching chunky Wayfarers. Aviators? Think delicate wire frames, those distinctive double bridges, and large, often teardrop-shaped lenses that curve dramatically. They demand precision with thin lines and careful handling of reflections because there's less frame to hide behind. Wayfarers, on the other hand, are all about bold, thick plastic. You're dealing with straighter lines, sharper angles, and a frame that has significant visual weight. Getting the proportions right between the lens and the thick frame is key here. Each style has its own personality, and capturing that starts with recognizing these fundamental shape and thickness differences.
Beyond the Usual: Cat-Eyes, Sport, and Oversized
But the world of sunglass drawing doesn't stop at the classics. Ever tried a cat-eye? Those upswept outer edges require a completely different curve dynamic. They can be thin and elegant or thick and dramatic, changing the whole feel. Sport sunglasses often have aggressive wrap-around shapes, integrated nose pieces, and thick arms designed for grip. Drawing these means understanding how they hug the face and where the ventilation or rubberized details might go. And oversized frames? They dominate the face, demanding attention to the sheer scale of the lenses and frame. They often feature softer, rounder shapes or exaggerated squares. Each type forces you to think about how the basic elements – lenses, frame, bridge, arms – are modified and combined to create that specific look and feel.
Which sunglass style do you find most challenging to draw and why?
Shading In Your Skills
So there you have it. We've moved from basic shapes to adding reflections and tackling different styles. Sunglass drawing, like any skill, improves with repetition. Your first few attempts might look more like warped goggles than chic eyewear, and that's fine. Keep practicing, observe how light hits different lenses, and pay attention to the unique lines of various frames you see out in the world or perhaps browsing sunglasshub.org. Each pair you draw is a step closer to making those accessories look exactly how you envision them on paper. Grab your pencil, find a pair you like, and get sketching.